How to Build a DIY Ant-Proof Beehive Stand to Protect Your Honeybees From Ants
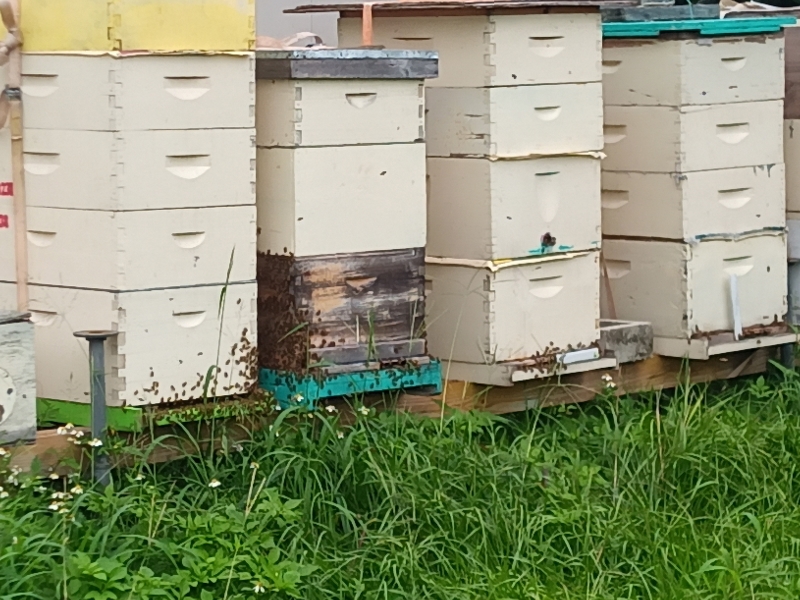
Ants can be a persistent problem for beekeepers, invading hives to steal honey and disrupt the delicate balance of a colony. In this article, I will show you how I built a bee stand to keep ants away from my bees. This DIY ant-free bee stand is a simple yet effective solution that will help protect your beehive from ants and ensure the health and productivity of your bee colony.
In my yard, I have a problem with a non-native Florida Pest, the Big Headed Ant. The Big Headed Ant is highly disruptive to the bees, which can lead to aggressive / defensive behavior.
Big-headed ants are known to invade beehives in search of honey and other food sources. Their ability to invade and disrupt hives can be a significant problem for beekeepers. Ants may not only steal honey but could also disturb the colony, causing stress to the bees and even damaging the hive.
For bees to thrive and focus on honey production, keeping pests like ants at bay is essential. In this guide, I’ll walk you through building a durable, ant-free bee stand using a clever moat design made from galvanized buckets, metal pipe legs, and wooden 4x4s.
Why Keeping Ants Away from Beehives Is Crucial
Protecting Colony Health
Ants can create stress for bees by raiding their hives for honey, pollen, and even brood. This constant intrusion can weaken a colony over time, as bees shift their focus from honey production to defense.
Keeping Gentle Bees
Pests that invade the hive, such as ants, hornets, and beetles, can disturb the bees’ home environment. This disruption causes stress among the bees, prompting them to defend their territory more aggressively.
Preventing Resource Loss
Ants can quickly deplete honey stores, robbing both the beekeeper and the bees. This forces the colony to spend additional energy replenishing their supplies, which is especially taxing during dearth periods.
Maintaining Hive Hygiene
Ants often carry bacteria, fungi, or other contaminants into the hive. Keeping them out is not just about preventing annoyance—it’s about safeguarding the overall health of your bees.
Materials Needed for an Ant-Free Bee Stand
To build this stand, you’ll need the following:
- Metal Pipe Legs: Sturdy and resistant to pests.
- Wooden 4x4s: Form the platform for the hive.
- Galvanized Buckets: Serve as ant moats.
- Cement: Secures the metal pipe legs in the buckets.
- Water and Oil: Creates an impassable barrier for ants.
- Tools: Drill, level, saw, measuring tape, and spanner.
Step-by-Step Instructions
1. Plan the Design
- Determine the size of the stand based on the number of hives you plan to place on it.
- The height should be comfortable for hive inspections, typically around 18-24 inches off the ground.
In my design I wanted my stand to comfortably hold up to 6 full-sized colonies.
2. Assemble the Frame
In my design I used galvanized pipe fittings, alternative setups could incorporate old aluminum ladders or even a pressure treated wooden frame.
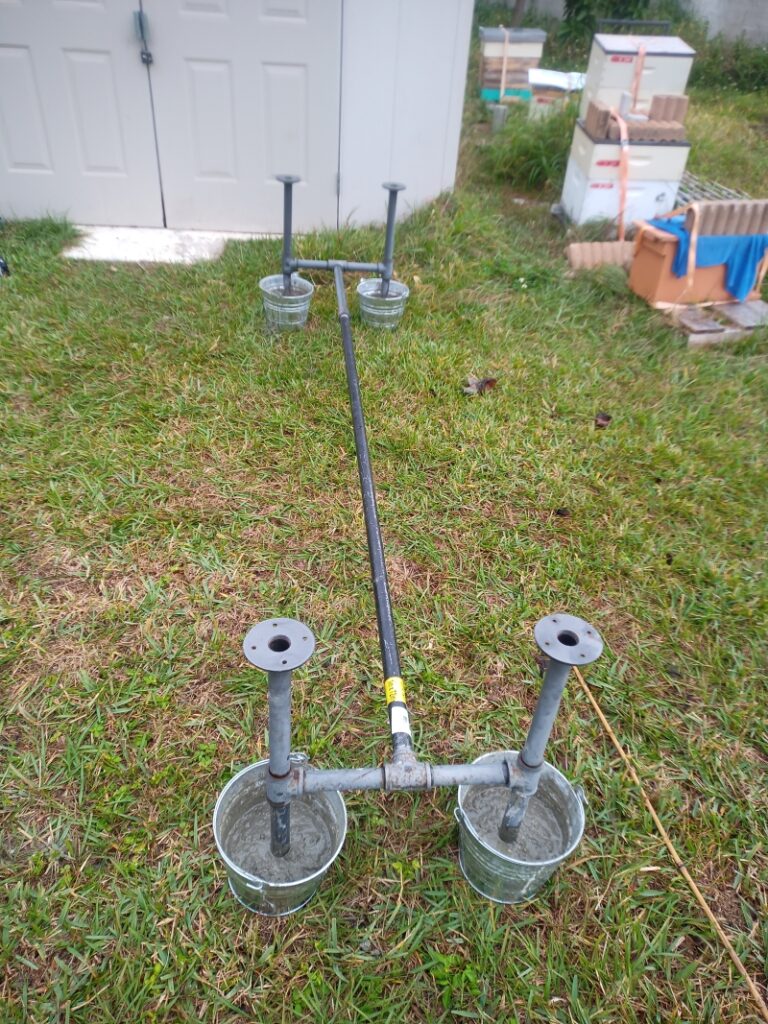
3. Prepare the Galvanized Buckets
- Place each metal pipe leg into a galvanized bucket.
- Mix and pour quick setting cement into the buckets, ensuring the pipe legs are positioned upright and centered. Allow the cement to cure fully (follow the manufacturer’s instructions for drying time).
A tip is to only fill the bucket partially, this way the remaining space can be filled with water.
4. Position the Stand
Choose a location for the stand that receives good sunlight and airflow, which helps keep your hives healthy. Ensure the buckets remain clear of debris that could form a bridge for ants to climb.
I used flat square pavers to provide support to the buckets. Once the stand was placed on top of the pavers, I used a level to level the pavers. In my case, I leveled the stand; however, a slight tilt towards the side where the entrance of your bee colonies is located may be more desirable.
This slight incline helps ensure that rain or moisture drains away from the entrance, preventing driving rain from affecting the colony.
5. Create the Ant Barrier
- Fill each bucket with water, leaving about 2 inches of space at the top.
- Add a few drops of oil to the water to prevent create a slippery surface that ants cannot cross.
- Regularly check and refill the buckets as needed, especially in hot weather.
A Secret Tip here is to add a few drops of food grade oil, this will help to reduce evaporation rate.

Maintenance Tips for an Ant-Free Bee Stand
- Monitor Water Levels: Check the buckets weekly to ensure they’re filled with water and oil.
- Inspect for Breaches: Keep an eye out for debris, like leaves or sticks, that could give ants a path across the buckets.
- General Hive Maintenance: Inspect your hive area for ant nests or trails and address them promptly.
Additional Benefits of This Design
- Durability: The metal pipe and cement construction ensures a long-lasting stand.
- Eco-Friendly: This design uses water and oil as a natural ant deterrent, avoiding the need for chemicals near your bees.
- Convenience: Elevating the hives reduces the need to bend during inspections, minimizing strain on your back.